Blog
Summer Camp Recap: Fairytale Forest
Summer Camp Recap is our weekly seasonal segment featuring our summer camp programs. This is the place for camp parents to find pictures of their campers in action and see the fun things we did all week. It’s also a great place for educators to pick up craft, story and lesson ideas for their own early childhood programs.
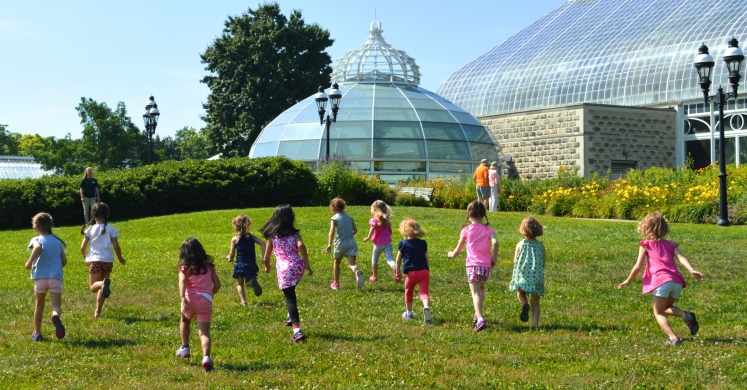
On day one of Fairytale Forest camp, our campers started their very own fairy gardens by adding soil and rock paths to a planting tray. The fairytale for the day was "Cinderella." After reading the story, we took a trip to the Edible Garden to learn about pumpkins and other squash plants. While in the Edible garden, campers also hunted for hidden pumpkin seeds. Back in the classroom, campers planted pumpkin seeds, decorated fairy wands and added a special leaf or flower from our lagoon area. Once we finished our wands, our princes and princesses went on a Cinderella parade around the CSL Landscape, waving at visitors, and back into the classroom for the Cinderella Ball.
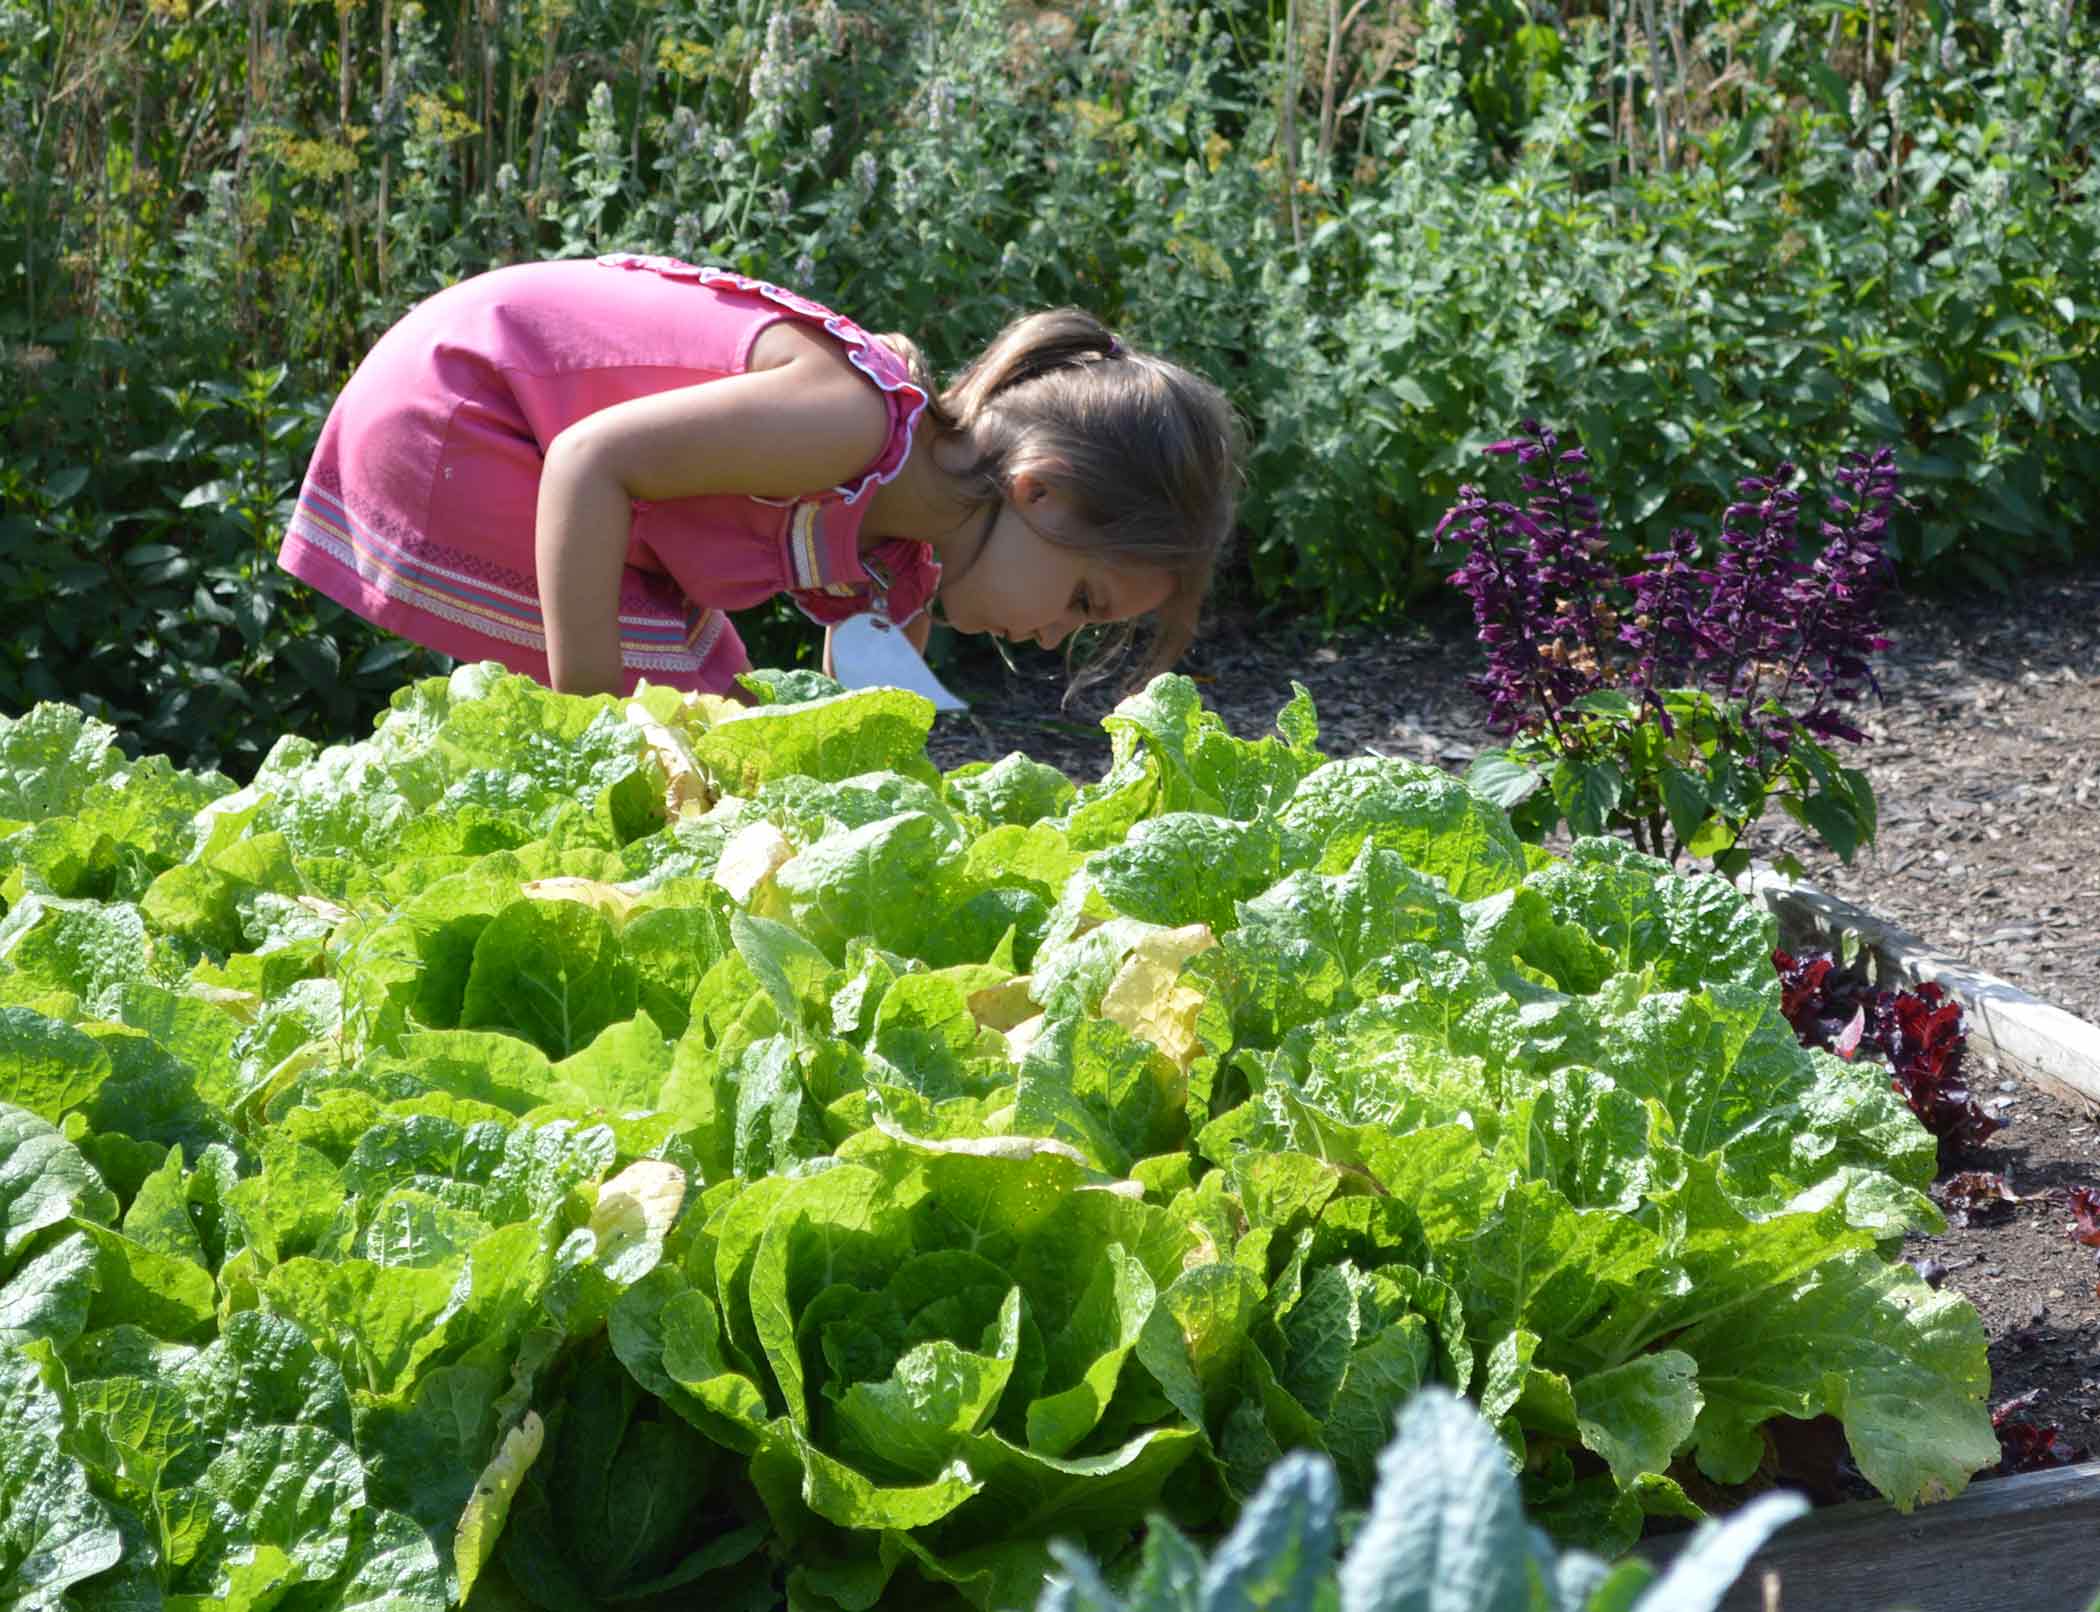
Day two was all about the fairytale "Stone Soup." We added a moss plant to our fairy gardens and talked about what we can use to make soup. We taste-tested some tomato basil soup, carrots, celery and hummus from the Phipps Café and went on a veggie hunt in the front gardens. Back in the classroom, we were joined by our teen interns. They helped the campers build shoebox castles and paint camp T-shirts using river stones and carrots.
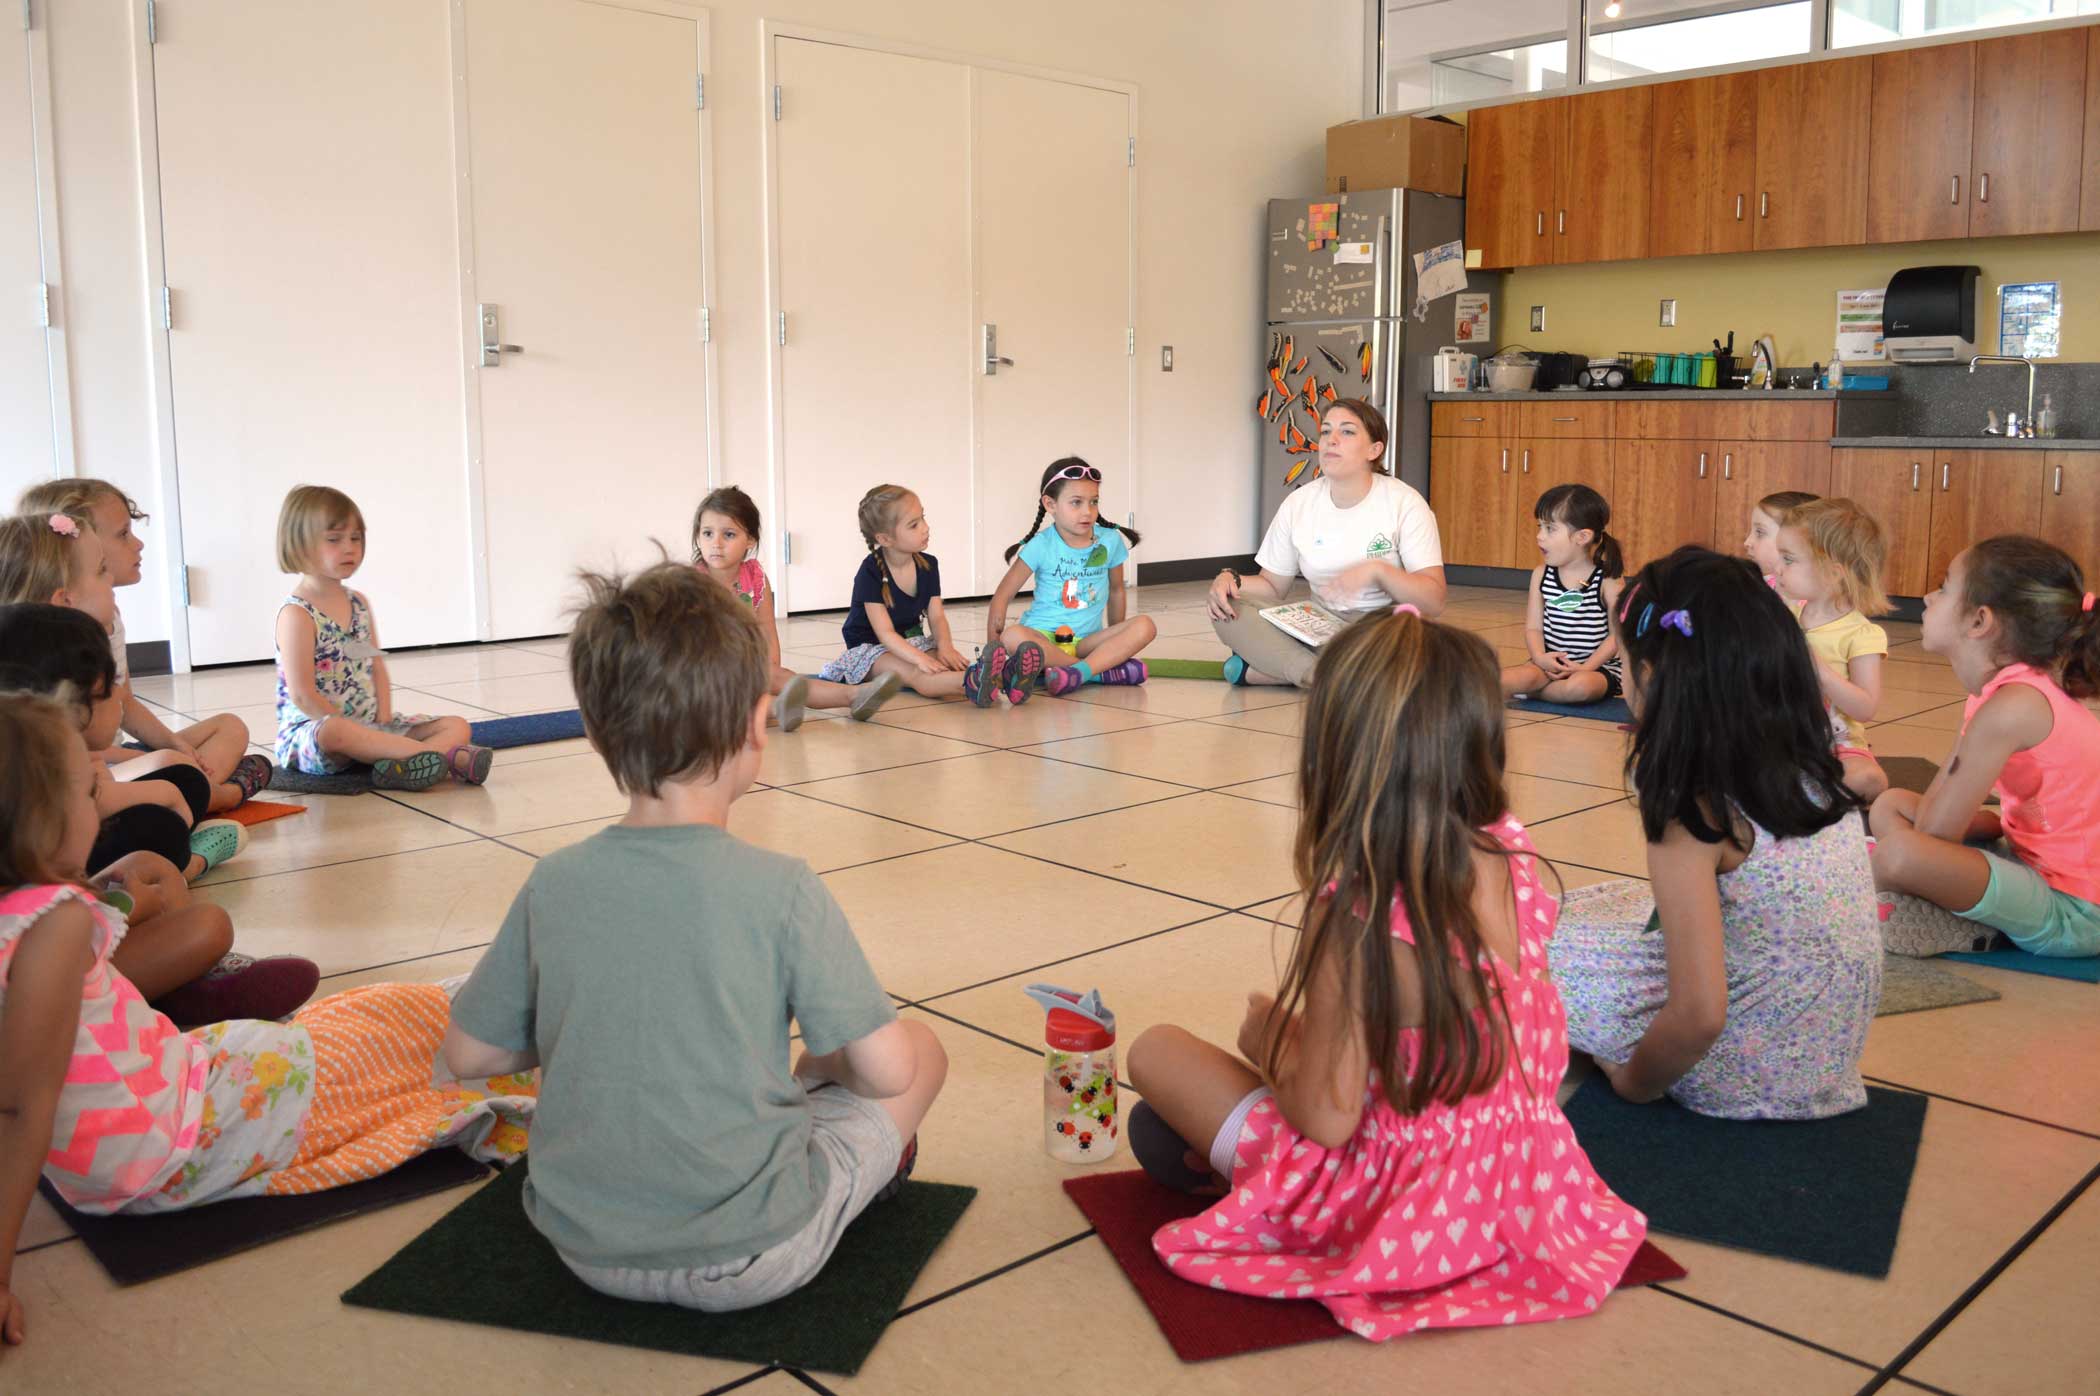
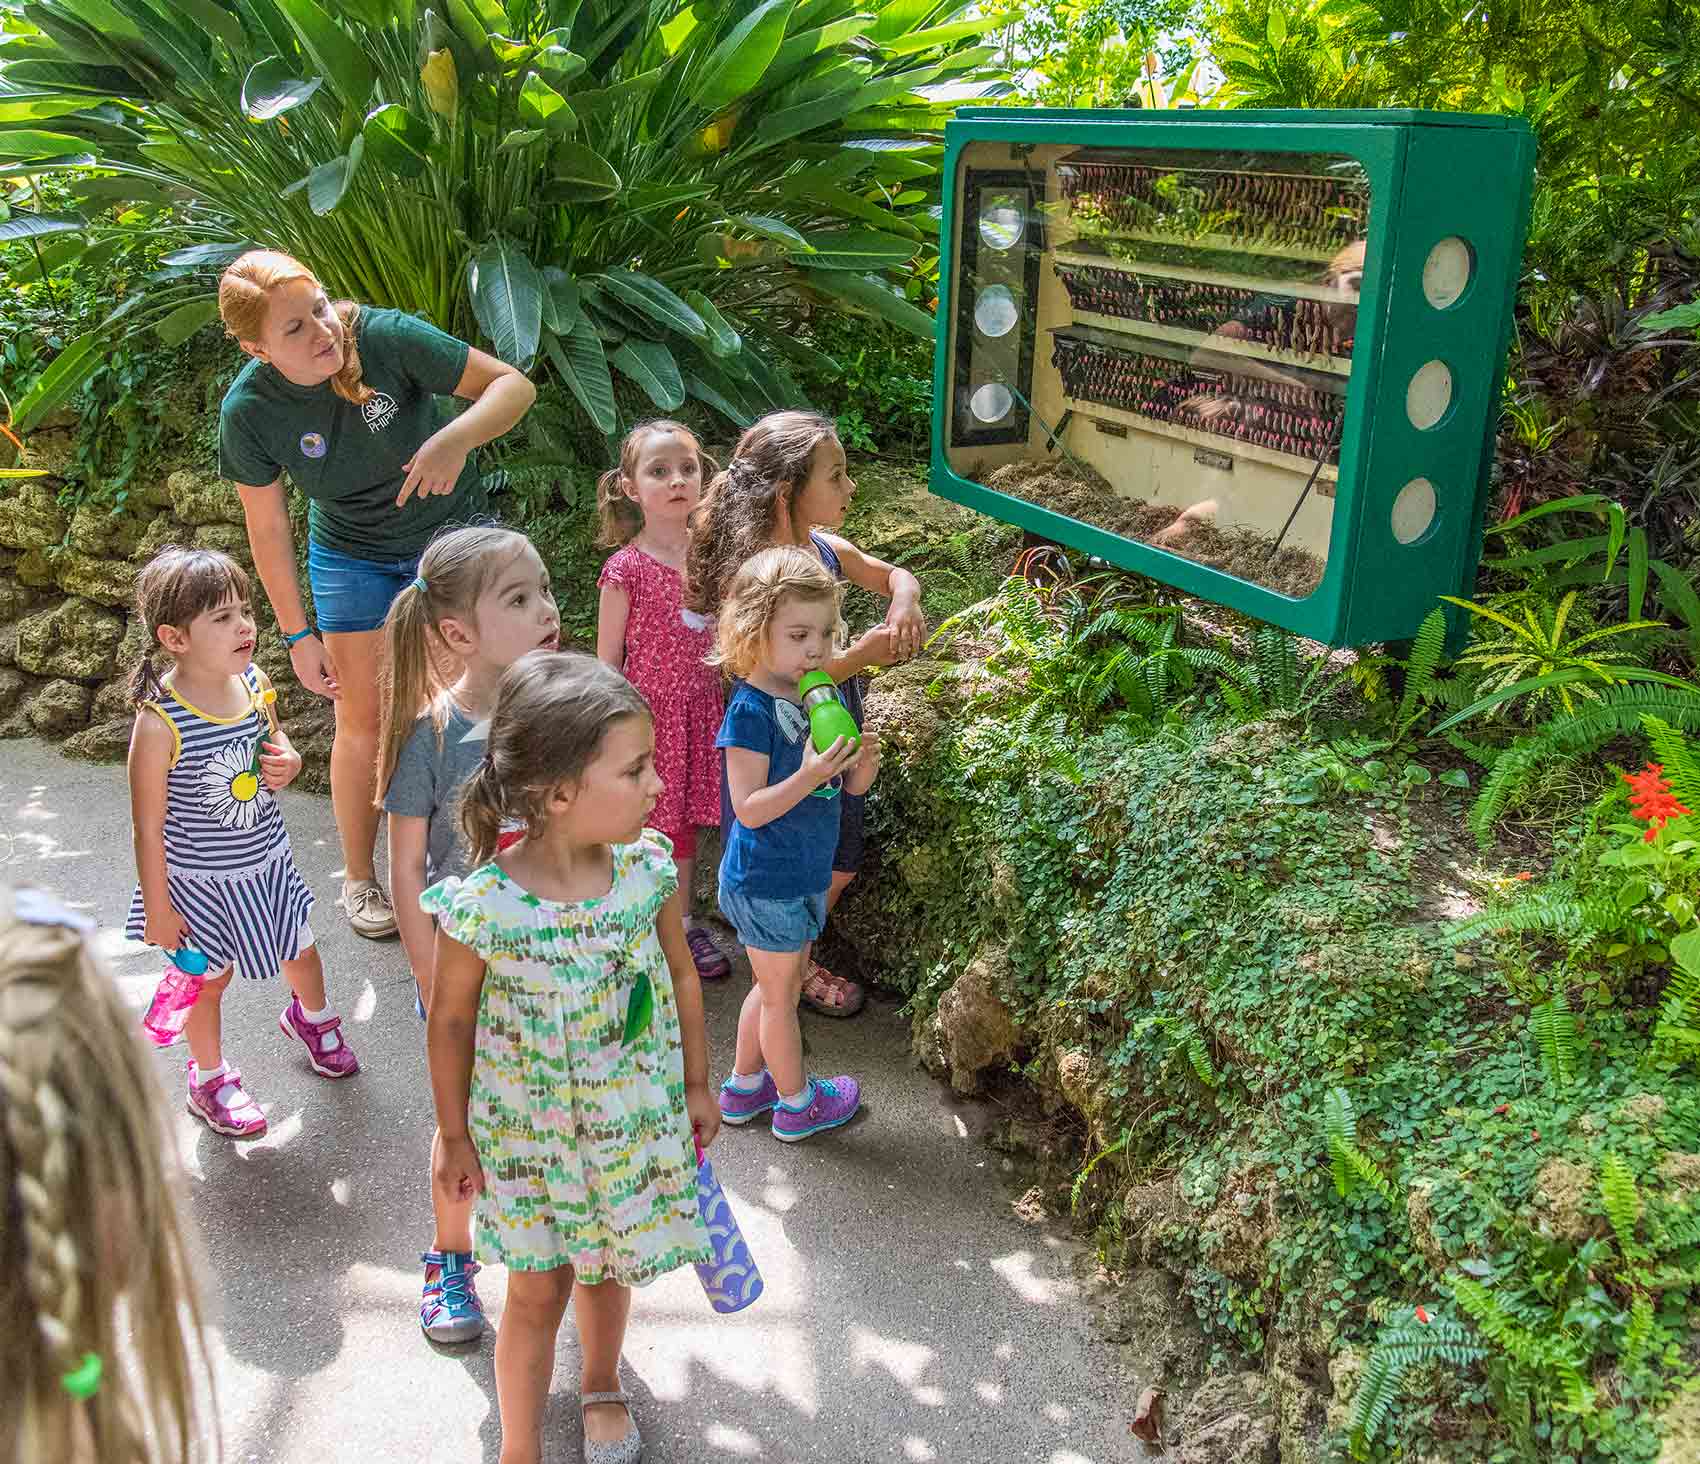
On day three, we added fairy houses to our fairy gardens using recycled yogurt and dressing containers. Many campers decided it was so hot that their fairies needed a swimming pool in their garden. The fairytale of the day was "Jack in the Beanstalk." We talked about beans and seeds and dissected a lima bean. Campers also learned that if you’re not sure if something is a seed, you can plant it in soil, add water, put it in the sun, and wait, wait, wait for it to grow. The campers saw spores in the Fern Room and seed pods on the Cocoa Tree. We also visited our pollinator friends the butterflies! Back in the classroom, campers decorated drums made out of recycled containers and old seeds, planted a bean plant to take home, and acted out the life of a seed in our seed play.
Day four’s fairytale was the "Princess and the Pea." Campers drew fairies to add to their fairy gardens and went to the Edible Garden to hunt for marble "peas." In the Edible Garden, they met Princess Cassy, who was secretly a princess but was disguised as a camp volunteer. Back in the classroom, campers decorated a crown and went to the CSL Rooftop Garden to collect a leaf “jewel” for their crowns. They also planted a pea plant to take home!
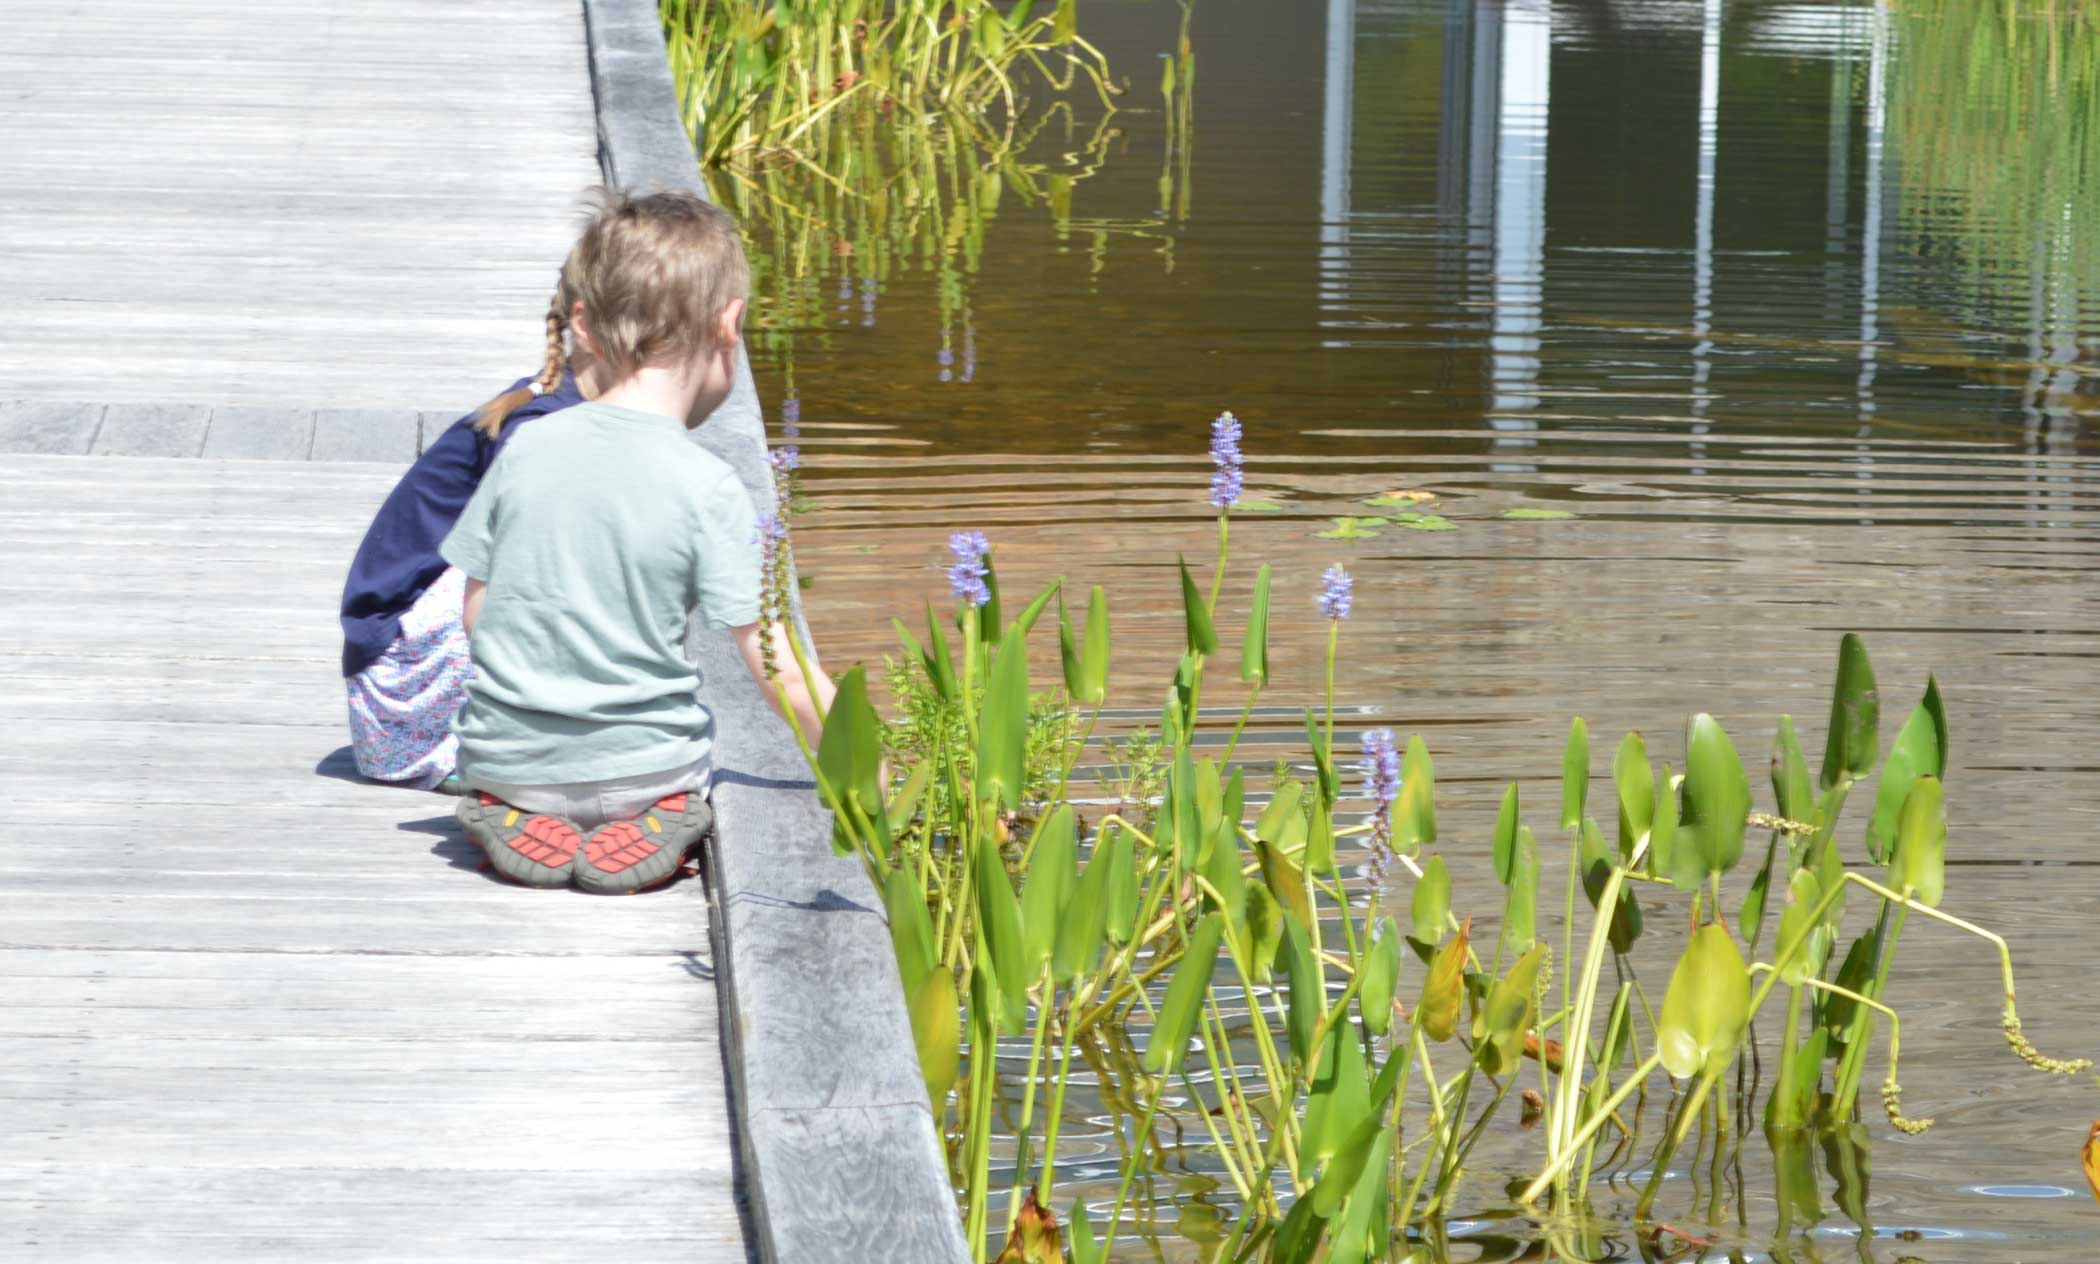
On the final day of Fairytale Forest camp, we read "The Little Red Hen" and learned about grains, wheat and flour. We talked about how flour is made from grinding grains in a mill, just like the little red hen did in the story. Campers also added a fern plant to their fairy gardens and toured the Desert Room, Sunken Garden, and Victoria Room to complete their full tour of the Conservatory. Back in the classroom, they made pinecone bird feeders using sunflower butter and bird seed and prepared for the Parent Showcase. Despite being hot and humid, our little ones kept cool at camp!
Book suggestions from the week:
Cinderella by James Marshall
Stone Soup by Heather Forest
Jack and the Beanstalk by Mark Cameron and Jez Bond
Princess and the Pea by Hans Christian Andersen
Little Pea by Amy Krouse Rosenthal and Jen Corace
The Little Red Hen by Paul Galdone
Craft and Science Exploration Activities
How to Make a Pinecone Bird Feeder
- Tie a string to the top of a pinecone
- Roll the pinecone in sun butter (butter made from sunflower seed oil, a peanut butter substitute)
- Roll the pinecone in bird seed
- Hang your pinecone bird feeder outside on a tree branch and watch for birds!
How to Dissect a Lima Bean
Every seed has three parts: a coat, a baby plant, and stored food. Your little sprout can conduct and experiment to view and identify these different parts. Dissecting lima bean is a great way to view these seeds. To prepare this activity, soak a few lima beans in water overnight.
Scientists ask questions and make guesses about the answers all the time. This is called a “hypothesis.” Ask your seed scientist to guess what might be inside a seed? To find the answer you and your little sprout can do an “experiment” and open up the seed to see what is inside of it.
Take the seed apart to find its three "body" parts:
- Seed coat: This is the outer layer of the seed. It protects the seed.
- Baby plant or embryo: This is the smallest part of the seed. It grows into the large plant.
- Stored food or cotyledon (cot-a-lee-don): This is the largest part of the seed. It gives food to the baby plant until it can make food from the sun.
Select photos © Paul g. Wiegman

