Blog

Start Seeds at Home
It’s Seed Starting Time!
It’s finally that time of year again- time to start seeds indoors! Growing season is on its way, and indoor seed starting is the first chance of the year to start opening seed packets and get your hands dirty. Starting seeds yourself saves money, gives you a head start on the growing season, and allows a wider choice of vegetable varieties. Not to mention it provides a gardening fix while we’re still stuck indoors! You need a few things to get started:
Soilless seed starting mix: It’s important to use mixes especially designed for starting tender seedlings. They will be lightweight, sterile, and retain moisture but drain well. Garden soil is too heavy, and may contain damaging fungal spores.
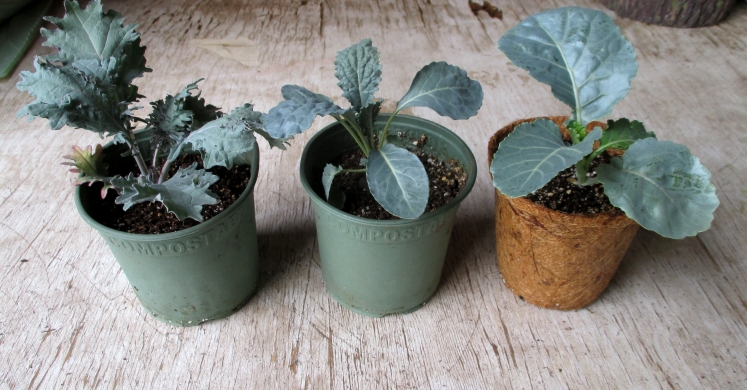
Pots or containers: You have a variety of choices here. You can buy pots made of various materials (i.e. plastic, peat, or coir), or make your own by recycling plastic containers (just punch a few holes in the bottom), newspaper, or toilet paper rolls.
Solid-bottom tray: To hold your pots, and allow for bottom watering.
Plastic cover: This could be a plastic dome that came with your tray, or simply a piece of plastic wrap.
Light Set-up: Young seedlings need lots of light, more than most windowsills can provide during winter, so usually additional artificial light is needed. Light set-ups need not be too complicated or expensive- a standard shop light fitted with cool fluorescent bulbs will do the trick. Any of the various sizes of fluorescent bulbs will work, as will the more expensive grow bulbs but they’re not necessary.
Seeds: Whatever varieties you’ve decided to grow! Reference the back of your seed packets or a planting calendar to determine appropriate planting times, which are relative to frost dates. Pittsburgh is USDA Plant Hardiness Zone 6, so the average last frost date in spring is around May 15, and first frost date in fall is around October 15.
Once you’ve gathered supplies and you’re ready to get planting, follow these steps and tips:
1) Wet the soilless mix in a bucket or large container. You want the mix to be evenly moist but not soaked, like a wrung-out sponge. This helps with moisture retention, and keeps the dust down.
2) Fill your pots with the pre-moistened mix to within ½ inch from the top. Do not pack the soil tightly; just tap the bottom of pots on a table to make sure the soil settles. Place your pots in the solid-bottomed tray.
3) Plant the seeds according to package directions. Use a finger to make a small indentation in the soil, place 1-2 seeds inside, then cover with soil and tamp lightly. Don’t forget to label what you planted where!
4) Cover the tray with plastic, and put it in a warm place.Increased humidity and warmth aid germination. Heating mats are great, or the top of the refrigerator will work too (around 70o is ideal).
5) Wait for the seedlings to sprout. Keep the soil moist with a spray bottle, and as soon as seeds sprout remove the cover and heat, and move under lights.
6) Place the seedlings under your light. The light should always be about 2 inches above the tops of the plants; adjust the height of the light as the seedlings grow. Keep the light on for about 16 hours per day.
7) Thin out the seedlings if multiple seeds grow in one pot, otherwise they will compete for nutrients and space. Leave the strongest seedling, and snip the others at their base with scissors (resist the urge to pull up extras and repot, this damages tiny roots).
8) Keep seedlings moist by bottom watering when needed. Simply pour water into the bottom tray, and the pots will wick it up. This encourages downward root growth.
Additional Tips
Fertilize about every 2 weeks. Soilless mix usually doesn’t contain fertilizer, but if yours does skip this step. Good organic options are diluted fish emulsion and sea kelp.
Run a fan at a low speed several feet away from the seedlings 1-2 hours per day. This mimics outdoor breezes, and promotes strong stem growth.
Harden off seedlings before planting outside: over the course of about a week, slowly adjust them to outdoor conditions to prevent shock. Take them outside for a few hours one day, bring them in at night, outside for a few more hours the next day, etc.
Follow these steps, and you’ll have healthy seedlings for your outdoor garden!

